Friday, September 26, 2014

Kindergarten Kandinsky Paintings

To begin our tour of Asia, my Kindergartners looked at art by Wassily Kandinsky. They learned what a concentric shape is, and that it can be any shape inside of each other. They then learned what my expectations are for painting in the art room, and we got started. 

Every year, I am completely amazed by the differences in my Kindergartners. Some have never held a pair of scissors. One year I even had one that had never held a pencil! So it's not surprising that these all turned out so different from each other. I love the variety, and it was very informative to watch them paint.


 I prefolded the paper for them so that each paper had eight squares. I demonstrated how to "tickle" the paper with the tip of the paint brush to get a nice line and asked the children to fill each square with as many circles as they could fit.


 They are so fun displayed in our atrium!


Wednesday, September 17, 2014

My Favorite Apps-Class Dojo

Here is another app/website that I use daily in my art classroom. Class Dojo. This is a classroom management app, but includes the ability to record attendance and open the results to parent involvement. I choose to keep mine between the kids and I, as I understand that everyone has a bad day, and I only see the students once every six school days. I clear out all the points after class each day so everyone has a clean slate each class.

Here's what is great about Class Dojo:

This is the main screen. Last year I had a seperate log in for my two schools, and regretted that decision. I was logging in and out constantly and it was a pain. This year, I put both schools in one log in and gave them different icons to keep them organized. This is working well for me, but  makes it so teachers at my second school cannot connect to me. I emailed Class Dojo and they said that having two schools on one account is a feature they are currently working on adding. To add your class, tap the + in the top right corner. 

This is the screen that will pop up next. 


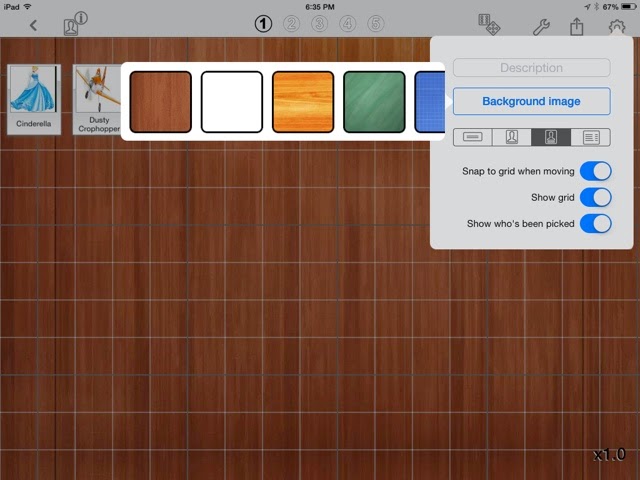
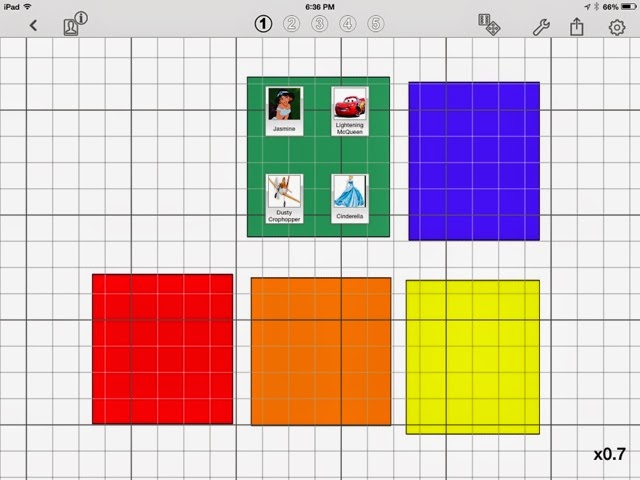
Tap and choose an icon for your class. 


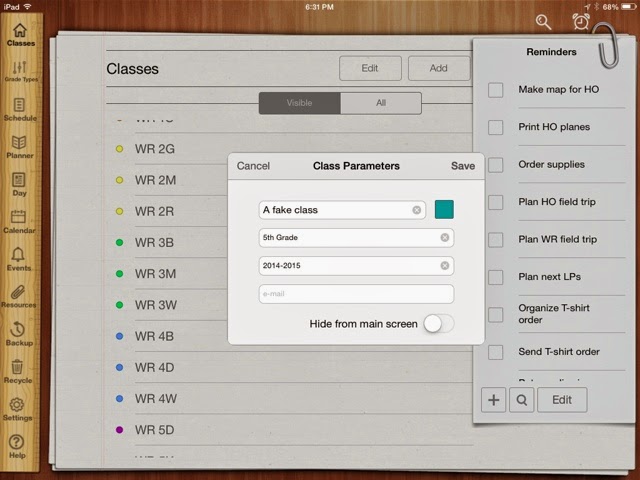
Name your class and add the grade level. 


Tap the box that says, "0 Students" to add students.


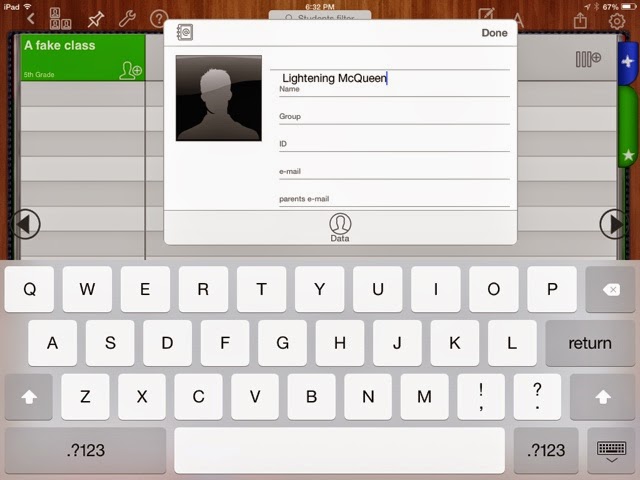
Tap where it says, "Student Name" to begin putting students into your class list. 


Tap DONE to put the student on the list. 


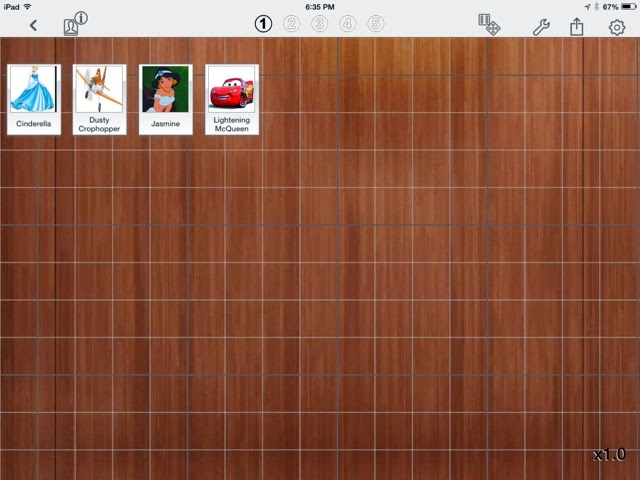
Continue until the class is all put into the program.


Now you are ready to actually use Class Dojo. From the screen above you have many options. You can take attendance, which I do as the kids settle into their spots. This make the absent kids whiteout and get skipped when you select the whole class to give points. 
You can also check reports-which I will show in a moment, edit bubbles-which are the points given, and start class. 

This is what your class will look like when you start it. Tap a name to give them positive or negative points. Did I mention you can customize the behaviors you are looking for? I have classroom specific behaviors that use the same terms as my class rules to keep the kids understanding my expectations. 


Let's give George a positive point-he's working so hard!


Positive points show as green bubbles. If George got another positive point, the number would change to two.


That Alf! He's so naughty, he got an off task point. Negative points will only show as red if there are no positive points given. If Alf had been on task earlier and had a green point, it would show no points. If he had three positive points, it would go down to two points. 


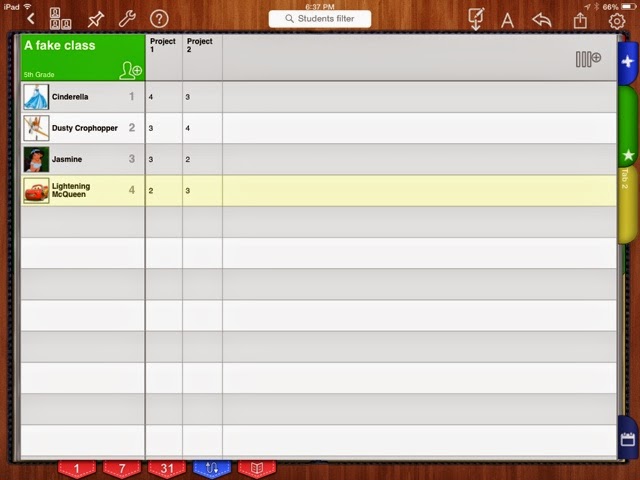
When you click on reports, you have the option of looking at a specific child or the whole class. My students love to find their percentage!

The report will show as a pie chart, unless you change it to a bar graph. Last year I had rewards specific to the percentage of positive behaviors earned. 

That's basically it! You can collaborate with other teachers-either both giving points or simply sharing students. I'm not going to go into that, though as I haven't done it and they have a great tutorial on their website to get you going with that feature. 


Monday, September 15, 2014

Clay Babushka Dolls

I started working through the process of creating clay Babushka (Nesting) dolls today. I'm thinking maybe 4th or 5th grade would like them. To make them elementary-friendly, I used pinch pots and attached them together to make the form.


Holes in the bottom for air flow, then they are scored and slipped together. 


Smoothing them together.


To begin, I added a hole on top and a third pinch pot for the head. 


She looked like this and I was unhappy with it. While the kids watched the flying to Russia video, I was looking at it and decided that it would look more authentic without the third pot as a head. I hated the ridge that the two pots created and decided to use it to my advantage...


I took off the top pot and pressed the ridge farther in. I'm still not thrilled with it, but am hoping that with the painting added to it I'll be more excited about it. 

Sunday, September 14, 2014

My Favorite Apps-Flowboard


My absolute favorite way to present to my class is with Flowboard. It is incredibly simple to use and can pull resources from Google search, my camera roll, and more. I can throw a professional looking presentation together in minutes, load it to the Flowboard site and show the whole class on my SmartBoard! Here's a glimpse of what you get with this FREE app.


Here is the main menu. Rather self explanatory; tap a Flowboard to edit or the + to create a new Flowboard.


When creating a new Flowboard, the user can choose a template or start from scratch. I have used a template for all of mine thus far.


When editing a Flowboard, this is the main screen. To edit a slide, simply tap on the slide. Complete slides can be rearranged with the icon at the bottom, just drag and drop into the desired spot.


A new slide can be added by tapping the + and choosing a template.


The first few template coordinate with the theme chosen, the following are generic.


Begin by tapping the + sign with ADD under it.

A media box will open. Resize it and move it next, as you cannot resize it without losing part of the image after it is loaded (the only thing I don't like about this app).


Choose which media you want.


Google search will give you a plethora of options.


Tap the image you like, and that's it! I cuddle my kids while they are watching cartoons and can get a couple presentations done at the same time!


Saturday, September 13, 2014

My Favorite Apps- iDoceo 3

UPDATE: I totally forgot a really important feature-it's password protected!

Here is the first in a series about using an iPad in the Art Studio effectively. I discovered this app a couple of weeks ago, and am completely in love with it! How did I get along without it all these years?! It is a bit spendy at $7.99, but I think it is completely worth it. I have been told that "Planboard" is similar and free, but I tried that first and as an elementary teacher, my school wasn't listed. I requested it to be added and never heard back from them. Upon trying again a week later, my school still wasn't listed. I couldn't even try it without my school being listed so I gave up and found iDoceo.

What does iDoceo do? It is a schedule, calendar, planner, gradebook, and seating charts all in one app. You can also upload resources and lesson plans, but I haven't gotten that far yet. I have my students' photos all added into my program, so I created a fake class to show you how to get started.

This is my main page. All of my classes are listed, and there is a to-do list on the right. On the left are the links to other aspects of the app. 
Here is my planner. I color coded my classes by grade level for easy reference. I love being able to copy/paste my lesson in and then just add details to remember exactly where the class left off! It also allows for week and day views.
This is the ONLY program I have found that allows me to use our six day cycle for the schedule/planner. It actually allows the user to create a cycle of any amount of days! 

To create a cycle, put the classes in first. Then go to the calendar tab to get this screen. Click on "cycle" then "Automatic Copy." Tap the days in the cycle-for me it was Day 1-Day 6-then type "Automatic Cycle" again and you'll see the calendar repeat. I color coded the days for easy reference to the cycle day as well.


Creating a class is simple-just tap "Add" and put in the info about the class. This is where I color coded them by grade.
Once in your new class, tap the silhouette with a + by it to add a student. You can put in their parents, emails, address, phone numbers, etc but don't have to. A photo can be uploaded or taken in the app-I walked around and took individual pictures of my students. It took less than ten minutes during class time while they were working on their project.
The three vertical lines with a + by them in the top right corner allows users to add columns for projects. The app also allows for custom grading formats and adds grades!
On the right you can see a green tab and a blue tab. The blue tab adds more tabs and lets the user name them. I have a tab for each trimester and one for my SLO data-all in one place, and I can upload it to any app I have that uses the cloud-such as Google Drive, Dropbox, etc.
Each class can have up to five seating charts-complete with the student photos. Just click on the three silhouettes on the top left to get to them.  I wanted to signify what table each child sits at, so I used Sketchbook Xpress to create an image with colored squares on it to use as the background image. 
Here is how to change the background image in seating charts. I had the image in my camera roll. 
This is what my seating charts look like! Super easy for subs to use. I uploaded them to Dropbox and printed them to put in my sub binder.


iDoceo does not need an internet connection to work-which is another thing I love about it as one of my schools has very spotty WiFi. I love it, so I wanted to share how amazing it has been for my organization so far this year.