Wednesday, April 27, 2011

When I saw this picture on Tumblr, I had to try it with my students. I think it's so cute! It's labeled as an owl, but I really think the kids could paint it whatever color they'd like and they will look amazing.


I had a prestudent teaching university student in my classroom for 25 hours this semester, and she taught one of the sessions of this lesson-I taught the other two. It'll be interesting to see if there is any difference in the students' work with the two teachers.


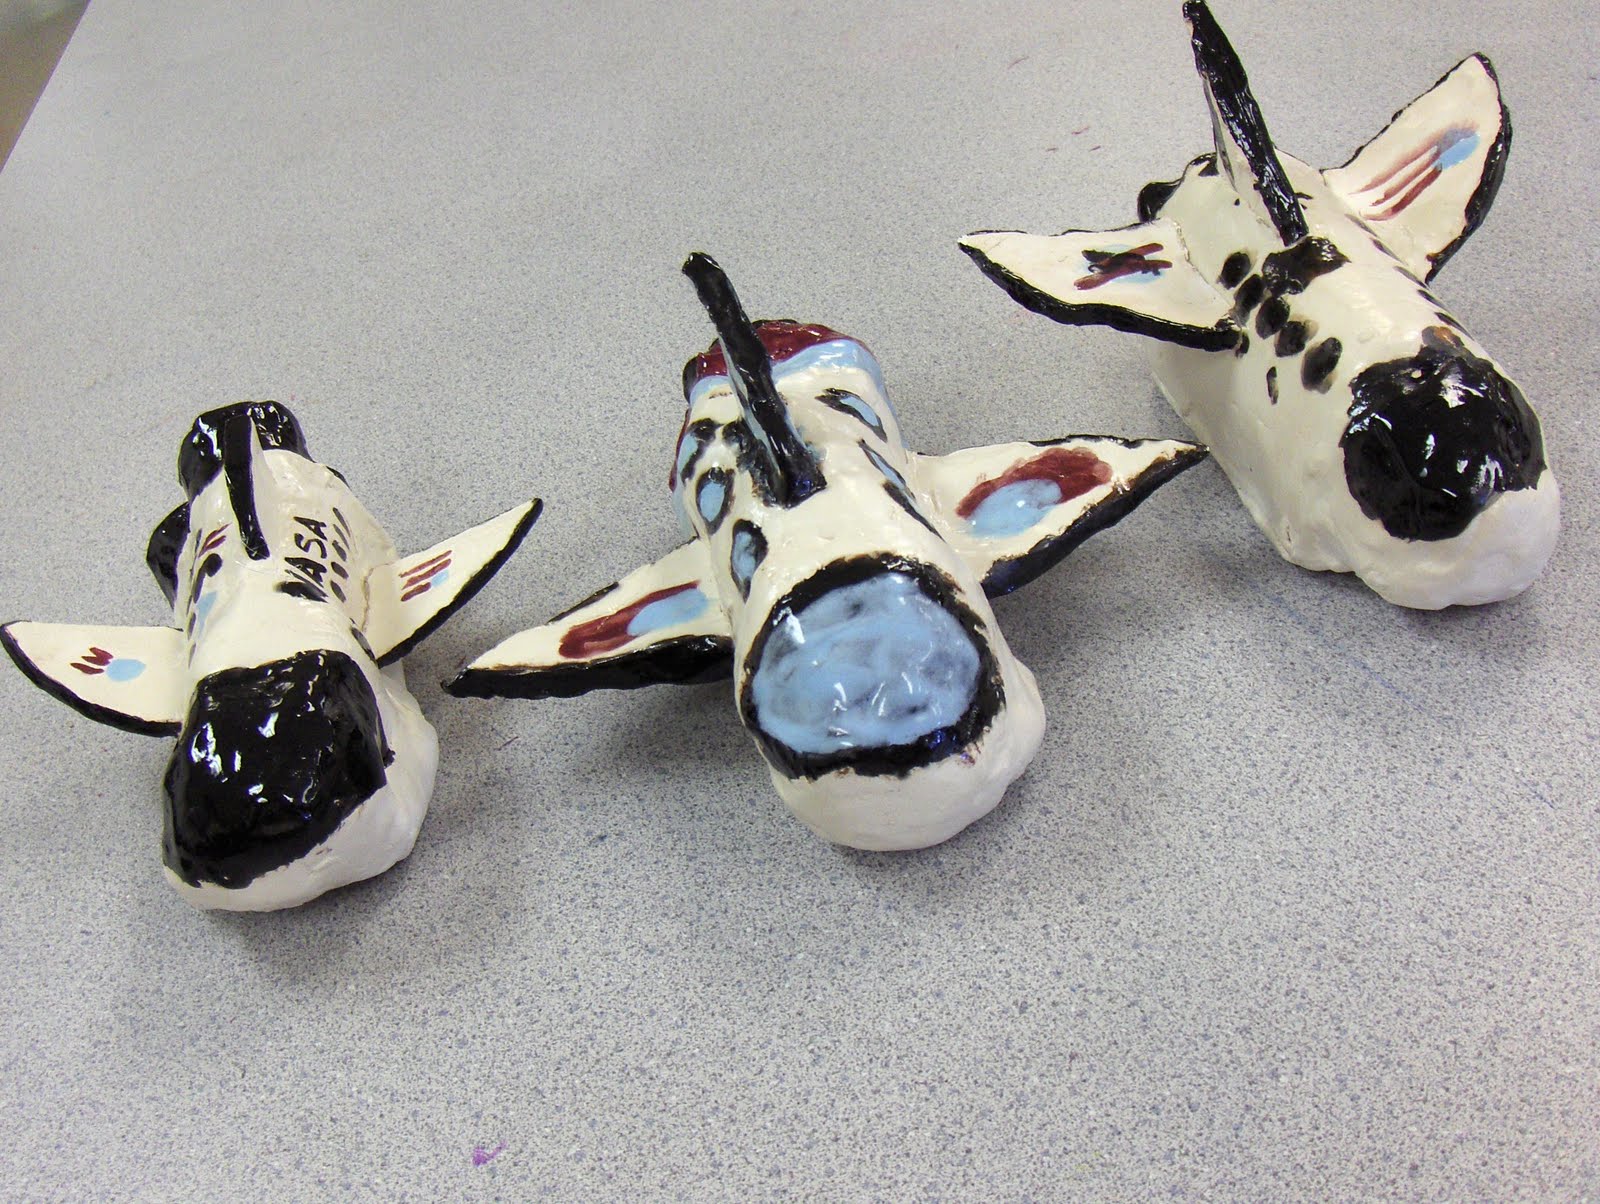
One class finished sculpting today. The bodies are pinch pots, with all the details scored, slipped, and squished into place. I call that the "Three Ss," making it easier for the kids to remember to use that technique everytime they join two pieces of clay. I also draw it on the white board, both in words and simple illustrations.


I can't wait to see how the kids paint these guys!


Thursday, April 14, 2011

Follow the LIne


I learned about the book "Follow the Line" from one of the preschool blogs I follow and instantly had to use it in my classroom. So many lessons about line are worthwhile, but a little boring for the kids. This book uses the same line to create the majority of all the illustrations. It starts with the F on the cover, and continues all the way to the back of the book, where it says "the end." The kids were amazed that the artist was able to create so many pictures with just one line. She has at least on other Follow the Line book out, "Follow the Line Around the World." I used the first one because one of the first illustrations is of a big city scene and I thought that would be the easiest for the kids to create.


I tried this lesson with third grade at one school, and we made them H.U.G.E. I think they are 12"X36". That was a bit much, so when I started them at my other school, with fourth grade, I decided to go small. Thiers are 6"X18" and turned out much better. We started by painting the whole paper one color. I had a tray of paint on each table, and asked the kids to go to the table that had the color they wanted to use. The next class period we used construction paper to cut out buildings. At one school I gave them hole punchers to create windows. Maybe I would have liked that idea better if I had some of the square or rectangle punches, but with circle ones I wasn't a fan, so I nixed that idea with my fourth graders. Instead, I let them use the scraps to cut out windows and glue them to their buildings. Much better.


Finally, they used a fine tip Sharpie and a ruler to make their line. I got the book back out and reminded them that the author used the line to create windows and buildings. That some buildings are higher than others, showing that they are farther back on the street and that some are in front of others. I also reminded them to have the line come into the paper from the left, make lots of turns and curves, and go off the paper on the right. If I do it again, maybe I'll ask them to put the line at a certain point on the paper, so it can travel from project to project on the display!


Video Help?

Does anyone else us ImageMate software with an Elmo TT-02RX Document Camera? I spent my whole prep time this morning trying to create a video demo with that combination, and it would only save the first two minutes of the video! I tried everything I could think of: Googling the answer ("download this software" which is no longer available), changing the settings, talking faster (lol). Nothing worked. I have an email in to our IT department, but they are also new to this technology so I thought I'd ask all of you for your advice. Thanks!

Tuesday, April 12, 2011

Clay Space Shuttles

In honor of tomorrow being the 50th anniversary of the first man on the moon, I thought I'd post this earlier than I had planned. With Willow's Art Show completed, I am now focusing on Houlton's show (April 28th). We have a space theme, to go with the 4th and 5th graders' concert, "Spaced Out!" Fourth graders made clay space shuttles to contribute to the show.

They started by rolling clay out and putting it around two of the individual egg holders of an egg carton. They added a bottom, and then made a pinch pot and put another individual egg carton in the pot. That one I had trimmed down to just the little cup part so it was a little smaller. The pinch pot was put on the end for the nose of the shuttle.

They added a piece of rolled out clay to seal up the back, and then added 1-3 thrusters, which are just circles of clay. Finally, they added wings, a hole in the bottom, and their names. I put an image of an American shuttle and the NASA symbol on the SmartBoard and gave them red, clear, blue, and black glazes. I told them they can make their shuttle look like an American one, but they didn't have to.

To add a little something extra, we will be adding fire coming out of the shuttle thrusters. I'm thinking of using the stiff plastic cellophane-like people wrap baskets in-to make the fire and glue it into the thrusters. I'll be sure to post the final projects, complete with fire.

Heather Brown Landscapes

I'll admit, not all of these landscapes turned out this wonderful, but here are my favorites. If you want to see them all, click on the link for Willow's Artsonia site on the right.


They used Heather Brown as inspiration. I found two good videos online, one is an interview with Heather, and the other is a slideshow of her work set to the song from Lilo & Stitch. I told them they could take aspects of her paintings and combine them into a new image, but they could not simply copy a painting. They really loved her birds, and lots of kids included them in their work. They used Tempera paint, and I encouraged them to mix different shades of each color to add variety to their paintings. When everything was dry, they used Sharpie to create the bold outlines that Brown uses in her paintings. I think her work would also be a lot of fun to use as inspiration for a batik type project-she has at least one painting that uses white outlines instead of the typical black. The kids loved looking at her work, and thought it was pretty cool to watch a video of her talking about her life and work.

Monday, April 11, 2011

Sophie Baugas

I discovered Sophie Baugas' Kissing Cows through a teacher on Artsonia a few years ago. Periodically I'll go online and search Baugas, but this is always the only image that I can find. I am very curious about her-mostly from the lack of information available to me. The teacher on Artsonia did a chalk drawing of this image, showing the kids just one shape at a time until they discovered they were cows at the end. I decided to try this technique with my third graders. I put her image on my SmartBoard before the kids came in, and put the "spotlight" feature on the left cow's nose. I demonstrated how big to draw each shape on the whiteboard, and instructed the kids to follow along so their final image wasn't too small or too big for the paper. They had a very hard time with this, but we stuck it out. At the end, I revealed the image and got a lot of "Oooooh, it's cows. Can I start over?" I did allow them to start over, and they were much happier with their artwork. I think I'll skip the mystery with the next class. They are coloring them with oil pastels, and have been instructed to color all the white first, then the red, and the black last. They are cute so far, and I'll be sure to post the results.


Sophie Baugas' Kissing Cows


My sample of the project-students get to pick from pink, chartreuse, turquoise, or purple paper for the background.

Friedensreich Hundertwasser

I recently discovered Hundertwasser through another blog, and fell in love with his work. I'm not all that into architecture, but his paintings are amazing. I knew as soon as I saw them that my students would love his bright colors, busy images, and lines. Doing a project based on him was a must, and I have finally gotten around to creating one. I started this with my second graders today, and so far the results are pretty good! After looking at the shape of his buildings, we decided that they look like onions, or garlic. Each student took a 4 1/2"X 6" piece of paper in pink, red, orange, yellow, green, turquiose, blue, and purple. I used my document camera to show them how to draw the shape, and ended up having to re-demo it on the white board, as too many kids were saying the dreaded "I can't..." sentences. Once they got the shape down, I asked them to make many houses in many colors, in many different sizes. I showed them how to use oil pastel to add the lines on the shapes to make them more Hundertwasser-y and then glue them on the paper, starting at the top of the page. We talked about things that are farther away getting covered by things that are closer, so it wouldn't make sense to start at the bottom. I instructed them to "cover up the ugly color of the paper." Some will need a bit of tweeking, but so far so good!

Next class they will finish adding their houses, and put some bottoms on the shapes closest to the bottom. We'll add trees with concentric circles in them and nice big trunks. I can't wait to see their completed projects!

Willow River Art Show


Fourth grade's Hawaiian dancers.


Local amateur and professional artists submitted artwork for the silent auction.


Third grade paper mache fish and first grade paper pulp turtles.


Fish, sandcastles, and turtles by third, second, and first grades.


Kindergarten Mr. Seahorse.


Second grade sandcastles, and third grade paper mache fish were on the shelves in the atrium.


Fifth grade Heather Brown landscapes, Kindergarten Mr. Seahorse, fourth grade Hawaiian dancers.


CID Jellyfish.


Closeup of some third grade paper mache fish.


As the show started, the first few kids performing.