


I chose to use air dry clay for this project because I wanted the kids to be able to press the legs and eyes into the clay. I have a bunch of old Model Magic at my other school, so I am using that there but it's a little more limiting. It is already in colors, so there goes the painting step and the white doesn't take paint as well as clay either. Although, air dry doesn't take watercolor as nicely as bisque ware does either. I used my earthenware wire cutter to cut the clay into small pieces for each kid.

Here are the supplies we used. I got these great cardboard trays from the cafeteria ladies. They have "Yogurt Parfaits" once a month and the yogurt containers come on these trays, which they save for me. I made a tray of eyes and a tray of legs for each table. I also got these odd cardboard things donated (pictured below) and cut them in half so each kid got one half.


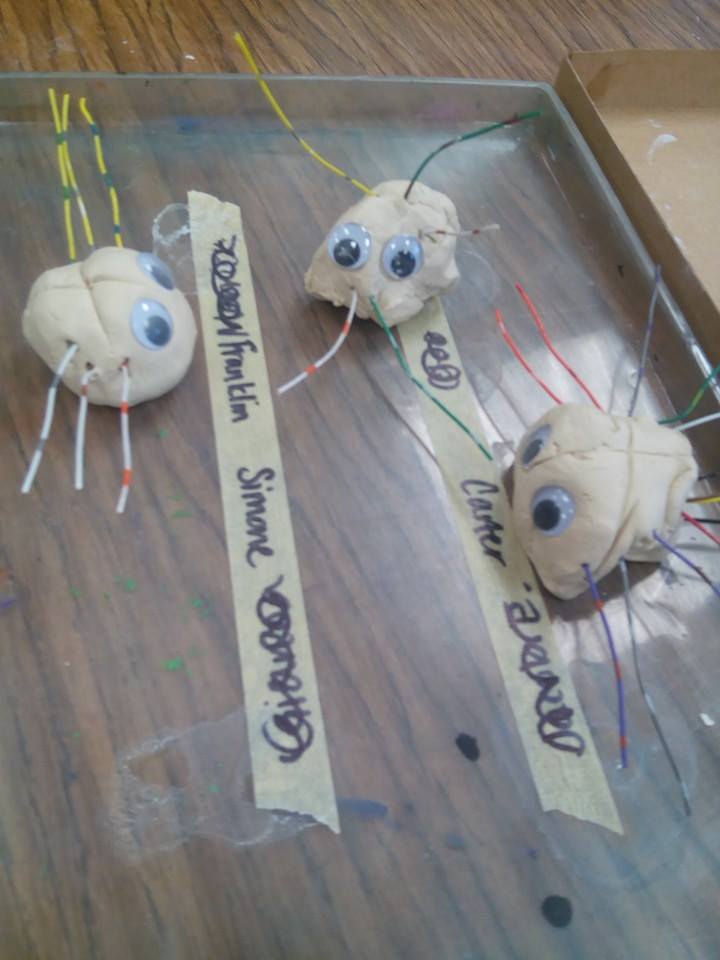
Their first step was to roll the clay into a ball. We discussed the shape of a beetle's body and that they are more oval than circle and I showed them how to use a little bit of water to smooth out the clay. They then used the cardboard to press the lines of the beetle into the clay. Finally, they pressed the eyes in and six legs.
Here's what they look like right now, as they are drying.


I picked up some bottles of Crayola mediums-some pearl for this project and the other texture for our third grade clay project (post to come). Next art class, we will first paint the watercolor on the beetles and then start a new project. While painting my samples, I discovered how slowly the paint dries on air dry clay compared to bisque fired clay. We will definitely need time for them to dry before adding the pearl medium.

No comments:
Post a Comment