
Usually my Adapted Art lessons are "one and done" type of projects. The kids like to take them with them as soon as possible, and I like to accommodate. However, today we are starting a two part project recycling TP rolls into snowflakes that look quilled. Here's step one.

Students should write their name on the inside of a piece or TP roll
(I cut them about 1/2 each).
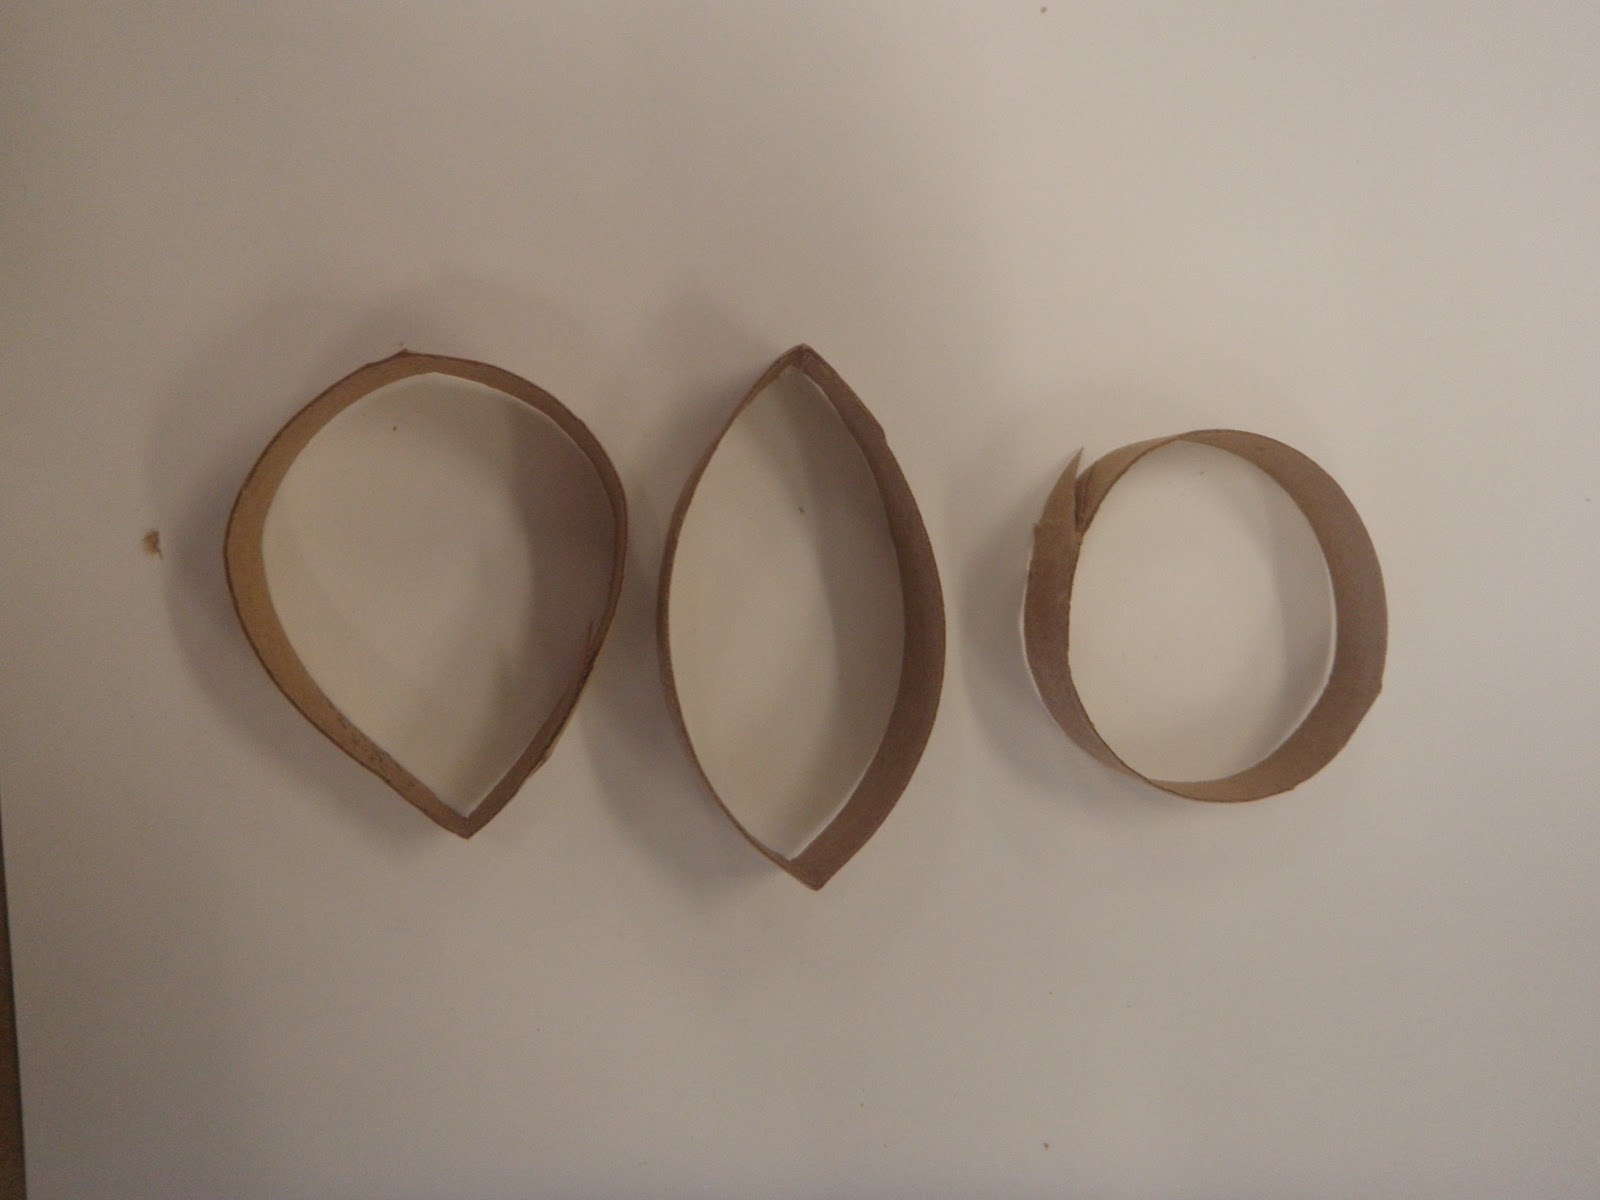
2. They can make three different shapes from the TP strips;
keep it round, pinch one side, or pinch both sides.

3. Put a drop of glue on the shape they've created.

4. Press the glued spot to the piece with their name on it.

5. Add a paperclip to hold it for them so they can keep working.

6. Add their next piece, gluing it to the center and the first piece that was glued.

7. Paperclip all the glue spots.

8. Continue until they have made a whole snowflake.
UPDATE: Unless you plan on spray painting them, or leaving them their original color I'd recommend skipping the spirals. Brushing on paint causes them to become too wet and straighten out.

1. Cut a circle into a strip.

2. Roll the strip around a pencil.

3. Hold it on the pencil for a moment.

4. Glue it to the snowflake and add a paperclip to hold it on.

5. End of step one!
4 comments:
super duper cute!!!
This is so clever! Thanks for sharing.
Great tutorial! Thanks so much!
Very Interesting Idea!!! I have done quilled snowflakes before and they are very tedious. This looks so elegant and yet more durable for classroom display. Can't wait to see more on how you do the next step.
Post a Comment