Showing posts with label Birds. Show all posts

Monday, May 23, 2011

Clay Birds

Many of my fourth graders are finished with their clay birds, and I have gotten some of them uploaded and published to Artsonia. I showed them how to mix a tint (lighter shade of a color) for their bird's belly and then encouraged great craftsmanship through the painting process. Most of them did an outstanding job painting these little guys! I could tell by their concentration and the quietness of the room that they were taking it very seriously.


Throughout the creation process we were referring to these as their "owls," and some kids didn't want to deviate from the original concept when it came to painting time and asked for brown or black paint instead of the bright rainbow colors I had already poured. I could understanding wanting to stick with the idea in their heads, so I got the other colors out. They turned out great.


To see our whole flock, check out Willow River's Artsonia link on the right.


Thursday, May 19, 2011

Clay Ducks

Kindergarten just finished their clay ducks. Well, more accurately, I finally finished hot gluing their eyes and beaks on. I had to laugh as I was writing down the kids' names and getting their "ducks in a row" to photograph for Artsonia when I noticed they looked like this:


Quack quack!

Tuesday, May 17, 2011

Oh No

I had one of those moments today. The wonderful anticipation of opening the kiln, to find every. single. project. exploded.

Awesome.

Now, what to do with those cute little kindergarteners that have been anxiously anticipating painting those little clay ducks?


Make new birds, of course! However, with only three art classes left, I knew that we'd have the same results if we tried clay again. It's just too humid in my classroom for those little quackers to dry enough for firing.


So we reviewed color mixing.

And used up some two year old Model Magic.


Each table got individual sized packages of Model Magic in white, red, yellow, and blue.

Students mixed secondary colors when needed and created a bird of their choice.


Then I told them that Model Magic doesn't keep, so they would just have to make more sculptures and use it all up!


They were happy to oblige.


Wednesday, April 27, 2011

When I saw this picture on Tumblr, I had to try it with my students. I think it's so cute! It's labeled as an owl, but I really think the kids could paint it whatever color they'd like and they will look amazing.


I had a prestudent teaching university student in my classroom for 25 hours this semester, and she taught one of the sessions of this lesson-I taught the other two. It'll be interesting to see if there is any difference in the students' work with the two teachers.


One class finished sculpting today. The bodies are pinch pots, with all the details scored, slipped, and squished into place. I call that the "Three Ss," making it easier for the kids to remember to use that technique everytime they join two pieces of clay. I also draw it on the white board, both in words and simple illustrations.


I can't wait to see how the kids paint these guys!


Thursday, December 23, 2010

Clay Owls

First grade just finished their clay owls. For the full tutorial click here.


Monday, May 3, 2010

Tree of Life

I really like Gustav Klimt's Tree of Life painting. I recently found TeachKidsArt's version of this project and really like it. However, I want to do something a little more in-depth with the children too. So, I created the following examples today with Sargent Metallic Acrylic paint and Sharpies (for the leaves and bird). I think the kids are going to enjoy this quick painting project and if we have time (field trips keep popping up-gotta love spring!), we will also do the scuplture version on the last day of art so they can bring them home to grow the grass.


I used manilla tagboard that was donated to our district and started with a light yellow tempera wash using lots of water to give them the nice tone for the background. The ground is copper, and the trees are gold and antique gold. Once it dried I added the Sharpie details. Quick, but nice results. I hope to do this with my second graders.


Wednesday, April 28, 2010

Owl Marker Paintings

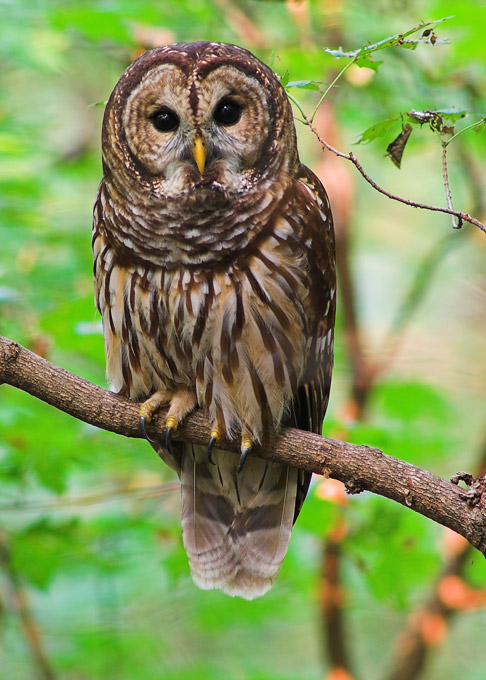
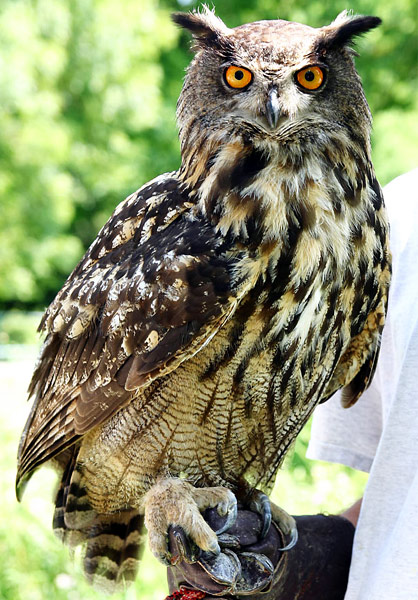
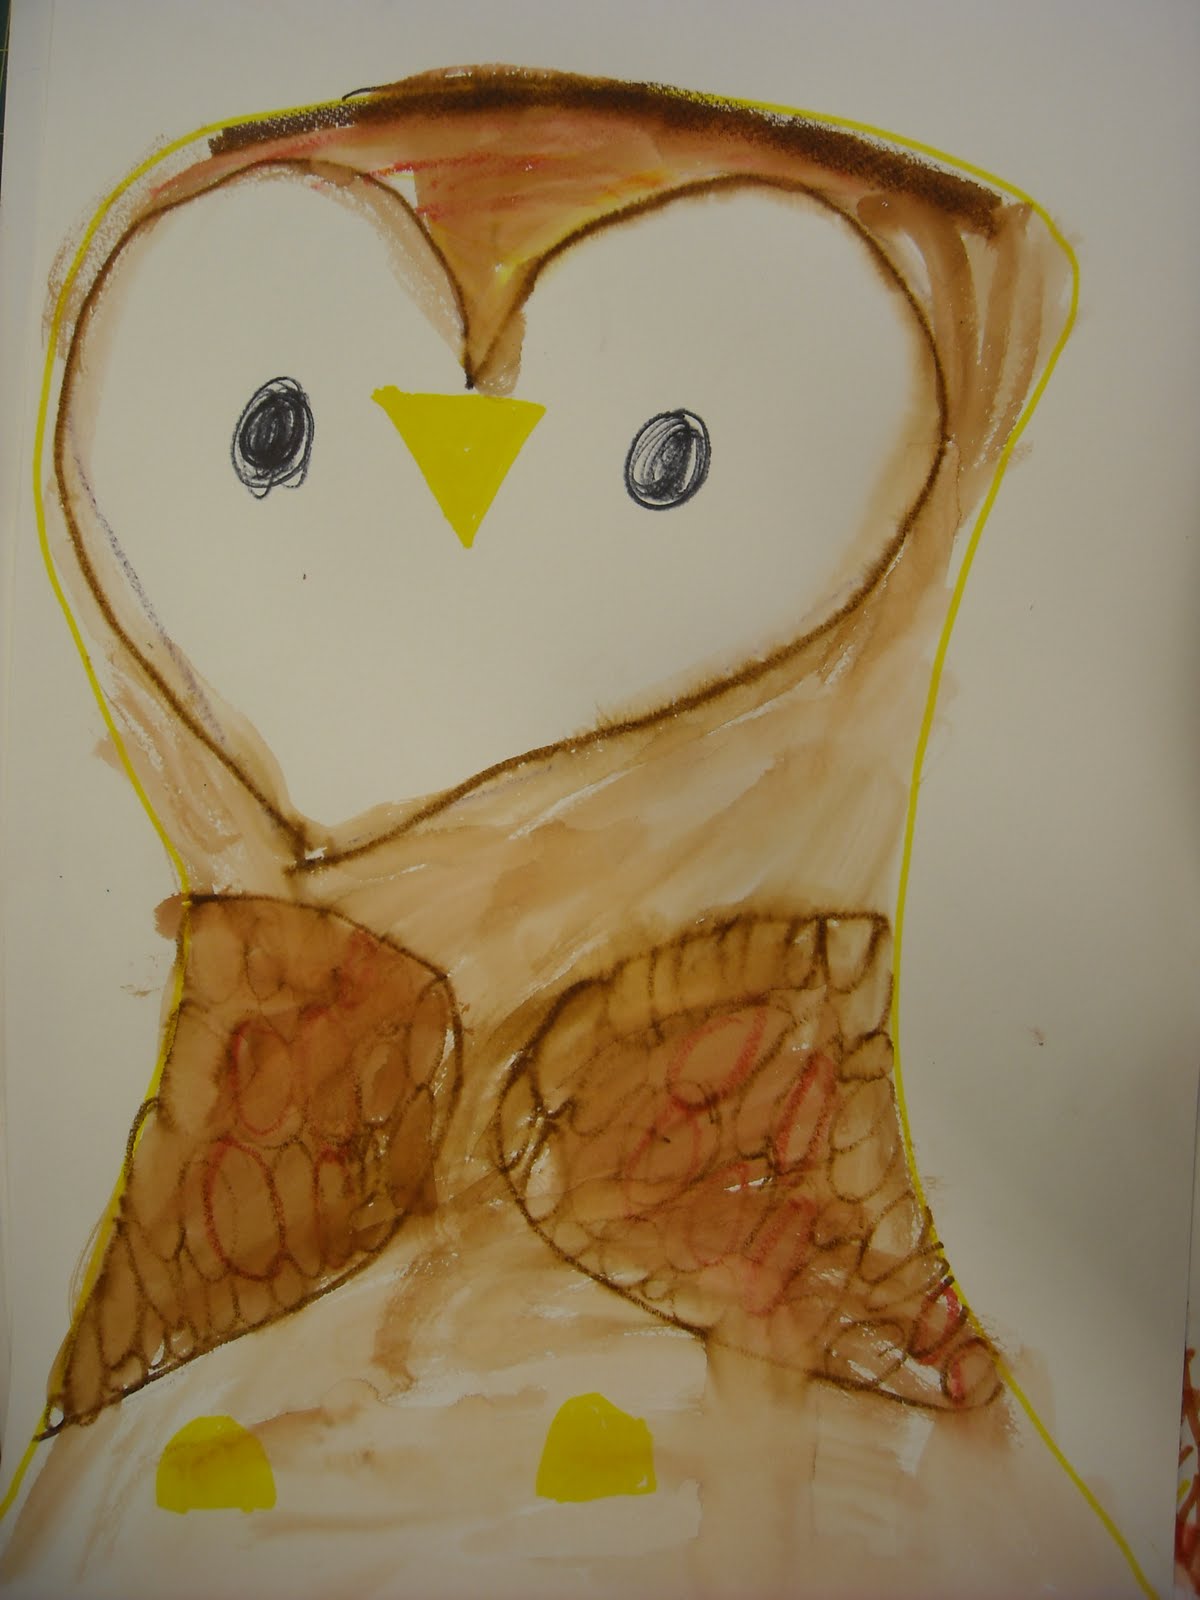
As the end of the year approaches, I am having supply troubles. As in, I don't have many. This is my first year at this district, and when I was doing my order I didn't realize how junky some of the supplies I inherited were. My Temperas are transparent, my watercolors are disgusting, and my markers are wearing out. So I had to get a little creative, and that's a good thing! These Owl Marker Paintings came out of necessity. I started this lesson with my kindergarten students by looking at three varieties of owls and comparing their features. We looked at their eyes, colors, and general shape and then we got to work.


Students got to choose between a Barred Owl, Great Horned Owl, or Barn Owl. I found that the Barn Owls turned out the best, so far. Although, to be fair, only one class is finished and they are my most challenging kindergarteners. Within my Smart Notebook file, I created a step-by-step of how to make each of the three owls. First students used permanent markers to create the eyes, beak, and feet for their bird.
Next, they used Crayola markers in brown, red, and/or yellow to create the bird's head and body. Finally, they used paintbrushes and water over all of the Crayola marker to make it bleed and look like watercolors. We were able to finish the whole process in one 45 minute class.

Friday, April 23, 2010

Clay Owls

I saw an adorable clay plaque of an owl by an elementary schooler once, but couldn't quite remember how it looked, so I Googled "clay owl," and found the white image on the left. I thought it was a great little owl, and am hoping that my first graders have a good time making them next week. Here's how I approached the project:


I started with a ball of clay about the size of my palm when rolled into a ball.
Flattened it.


Used a marker cap to create a feathery texture where the bird's belly will be (this also works great for scales when making fish).


I smoothed out the edge of the clay and folded it towards the center to create the first wing.


Repeat on the other side for the second wing, smooth out the top and fold it down for the head.


Pinch the clay to make the "horns" if you want to make a traditional, Great Horned Owl.


The marker cap was used again to create the eyes, and a clay tool for the beak.


Then I trimmed the bottom of my owl, smoothed it out, and found a sea shell.


I used the sea shell to create a cute texture on the wings.


Once fired, I plan on having the children paint these with watercolors, and then I will add little wire feet on the bottoms. I also put a hole in the back so they can be hung on the wall when finished.


Thursday, March 4, 2010

Clay Birds

LEARNING TARGETS:
-Learn handbuilding techniques
-Create a 3D work of art by combining shapes

TERMS:
-Score: drawing lines on the surface of the clay to create roughness.
-Slip: Adding water to scored clay to create muddy clay.
-Smooth: The act of pushing the scored and slipped clay together so it will stay through the firing process.
-Kiln: The device that fires clay.
-Firing: Putting the clay in the kiln and heating it to approximately 2,000 degrees. Creates a chemical change in the clay, making it hard like stone.

MATERIALS:
Clay
Water
Kiln access
Paint in a variety of colors
Wiggle eyes
Orange construction paper
Glue gun and hot glue
Clay tools (sharpened stick)


Clay Duck by a Kindergartener
We started this project by looking at my example, and talking about 2D and 3D objects. Next, I demonstrated how to assemble the birds. I used three different types of birds; one for each class of kindergarteners that I teach at my home school. The ducks are the easiest, as the kids just make balls out of the clay and assemble them. I show them how to score, slip, and smooth the clay together (I call that the "Three 'S's" which makes it easier for them to remember). For the wings and feet, I asked them to squish their clay ball to make a flat oval/circle shape. These kids painted the bird yellow, and the feet orange. I added a paper beak and wiggle eyes with the glue gun.

Clay Parrot by a Kindergartener
I think the parrots were the hardest. Again, I showed them how to create clay balls and assemble them. The wings and feet were just squished balls, but I also showed them that if they'd like to add plumage to the top of the head they could pinch the clay. Once they were fired, I added clay beaks that I made and let them paint them whatever color they wanted. After painting, I added the wiggle eyes. The penguins had an added challenge, because I had them use triangles for the feet and stretched out triangles for the wings. I also showed them how to pinch the clay to create a tail. Again, I added clay beaks that I made after they were fired and wiggle eyes after they painted them. I instructed them to paint the white first, yellow second, and black last.

Clay Penguin by a Kindergartener

ASSESSMENT:
As always, I circulated the room providing guidance when needed. Completed projects are assessed for craftsmanship, understanding of concepts taught, and completion of the painting.
To view all of our birds, check out our gallery on Artsonia.