I've been working on samples for my Egyptian lessons and am very excited to get started! Here is a sneak peek, we are currently flying to Egypt, learning about the country and designing the concepts for the projects.


Elementary Art Lesson Plans, Tips, and Tricks

 |
| Holes in the bottom for air flow, then they are scored and slipped together. |

 |
| Smoothing them together. |
 |
| To begin, I added a hole on top and a third pinch pot for the head. |

 |
| She looked like this and I was unhappy with it. While the kids watched the flying to Russia video, I was looking at it and decided that it would look more authentic without the third pot as a head. I hated the ridge that the two pots created and decided to use it to my advantage... |
 |
| I took off the top pot and pressed the ridge farther in. I'm still not thrilled with it, but am hoping that with the painting added to it I'll be more excited about it. |


 Throughout the creation process we were referring to these as their "owls," and some kids didn't want to deviate from the original concept when it came to painting time and asked for brown or black paint instead of the bright rainbow colors I had already poured. I could understanding wanting to stick with the idea in their heads, so I got the other colors out. They turned out great.
 To see our whole flock, check out Willow River's Artsonia link on the right.
Quack quack!
 I had a prestudent teaching university student in my classroom for 25 hours this semester, and she taught one of the sessions of this lesson-I taught the other two. It'll be interesting to see if there is any difference in the students' work with the two teachers.
  One class finished sculpting today. The bodies are pinch pots, with all the details scored, slipped, and squished into place. I call that the "Three Ss," making it easier for the kids to remember to use that technique everytime they join two pieces of clay. I also draw it on the white board, both in words and simple illustrations.

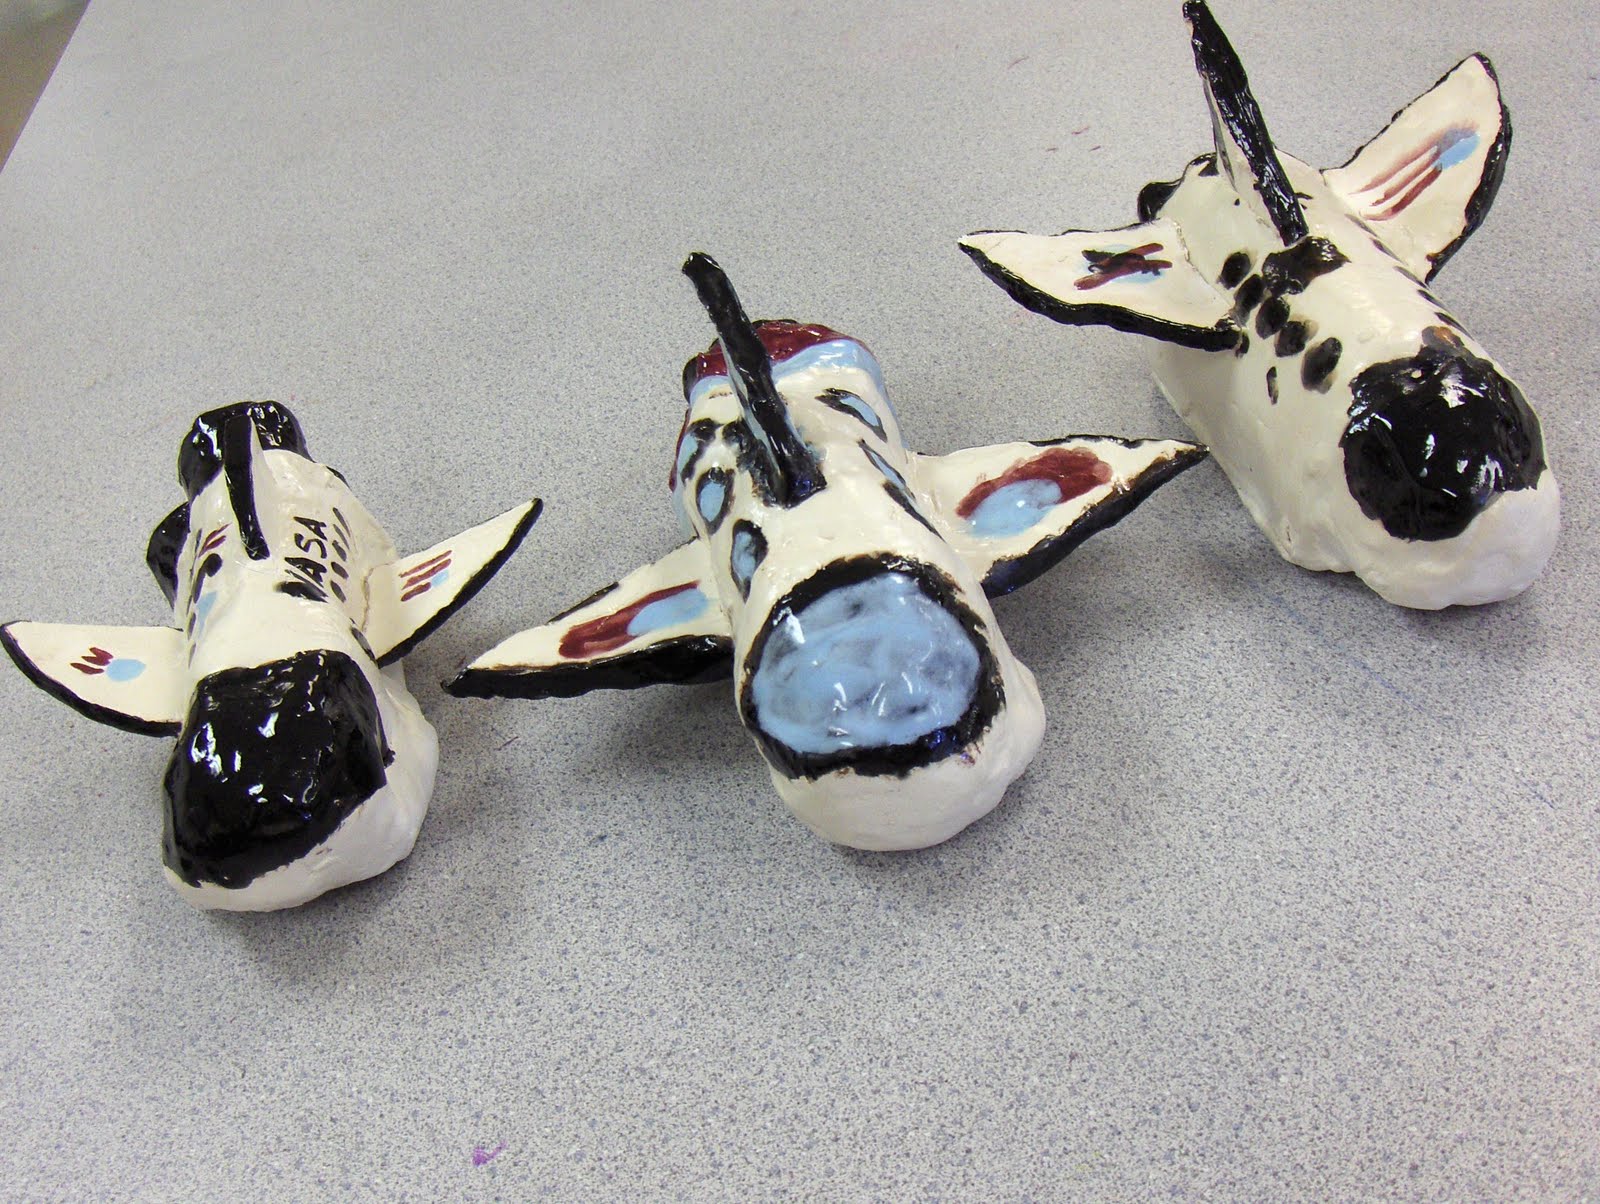 They started by rolling clay out and putting it around two of the individual egg holders of an egg carton. They added a bottom, and then made a pinch pot and put another individual egg carton in the pot. That one I had trimmed down to just the little cup part so it was a little smaller. The pinch pot was put on the end for the nose of the shuttle.
  They added a piece of rolled out clay to seal up the back, and then added 1-3 thrusters, which are just circles of clay. Finally, they added wings, a hole in the bottom, and their names. I put an image of an American shuttle and the NASA symbol on the SmartBoard and gave them red, clear, blue, and black glazes. I told them they can make their shuttle look like an American one, but they didn't have to.
 To add a little something extra, we will be adding fire coming out of the shuttle thrusters. I'm thinking of using the stiff plastic cellophane-like people wrap baskets in-to make the fire and glue it into the thrusters. I'll be sure to post the final projects, complete with fire.

 I think I almost like the orange ones better than red-or maybe it's just because not many kids did the orange.


 "Crabapple"


 After counting out the days that I have left with each of my fifth grade classes, I realized I'd better get moving on clay! One class started these Big Mouths this week (they will be missing two art classes due to various events), and I am very excited about their creativity. One girl is making a "crabapple." It has angry looking eyes, a stem, and leaf. It's completely adorable!
 I think the clay ladybug turned out exceptionally cute! I used watercolors to paint the bug. I had to use many layers to get a dark color. The spots are Sharpie, as I thought the watercolor would bleed too much and frustrate the students.
 Rear view, with wax paper wings.
 A few of my first graders saw this owl as I was putting it on the shelf, and asked who gets to make them. They were almost jumping up and down with excitement when I said "You!"
 I started with three balls of clay, large, medium, and small.
 Made the large one into a pinch pot for the ladybug's body.


 I saw an adorable clay plaque of an owl by an elementary schooler once, but couldn't quite remember how it looked, so I Googled "clay owl," and found the white image on the left. I thought it was a great little owl, and am hoping that my first graders have a good time making them next week. Here's how I approached the project:
 Flattened it.


