Showing posts with label Non-traditional Painting Techniques. Show all posts

Friday, June 10, 2011

Marble Painting

I needed a quick project for my kindergarten students, so we did marble painting. I love this project for showing them Jackson Pollock, and they have a lot of fun rolling the marbles on the trays. I had them use plastic spoons to get the marbles transported to and from the paint and trays to try and limit the mess. I also told them to be careful not to tilt the tray too quickly or the marble will escape, leaving them responsible for cleaning the resulting trail of paint.


To see our gallery, click on Willow River's Artsonia link on the right.

Monday, June 6, 2011

Pour Paintings-Results

I'm sorry to disappoint, but I did not get any photos of the finished projects before I needed to send them home. Oh how the end of the year is coming quickly! As suspected, the paint did crack. I was sad, but the kids loved it! I sprayed some clear spray paint over them to try and keep them intact a bit. One kid started picking at his paint chips and discovered that it actually looks really cool underneath! The paint dyed the wood, leaving the same pattern on the wood without the depth of the paint. I'm thinking I'll buy some Acrylic for next year to try this with-that's what Holton Rower's paintings use.

Tuesday, May 24, 2011

Pour Paintings

One of my fifth grades tried Holton Rower's Pour Paintings today. I'm hoping that they will dry ok. I'm a little nervous that they will crack a lot, but it's all about the process, right?! We did our mini-using small wooden cubes and some makeup containers that were donated. Students hot glued them together and put them on a plate covered with foil so I'll be able to remove the plate later. I loved how amazed they were by the video. Then I heard a lot of "that's so easy!" I reminded them to pour consistently and as close to the middle as they could. They definately figured out it is not as easy as it looks!


Thursday, May 19, 2011

Spray Bottle Paintings

Dontcha just love it when you plan a project thinking "Yeah, they'll probably like this. I think." and they love it. Not just love it, but create many, many copies of the project? I especially love it when that happens with my adapted art classes. So many of my objectives with those classes are to help the children grow in areas they are just fine at not growing in, thank you very much. Stretching themselves is especially hard for these kids, so many of my lessons are greeted with resistance. Today, however all but one kid created multiples of the project! Even my most severe young student picked up a spray bottle and started her own second project! She usually waits for her classmates to be done with their project so she can go back to class. It was so rewarding to watch these kids flourish today. Seriously, I'm kinda on a little high from it. All we did was use spray bottles of red, yellow, and blue liquid watercolors to spray large pieces of paper. I had three stations set up that I thought would be easy to clean up (ha!). One on my white board (easy-ish, once I remembered to move the markers!), one in my trusty kiddie pool (super easy!) and one on a wall that I taped large paper over (not easy at all! Make sure the paper goes all the way to the floor! I'm gonna have to bleach my wall. Oops.) We taped paper to the station, handed the child a bottle of each color and let them go to town. I'll post the results later, as they aren't dry yet. Beautiful, vibrant colors.

Tuesday, February 22, 2011

Eric Carle's Mr. Seahorse

My Kindergarteners have finished their Art Show project! This is a project that I have done several times over the years, but I have always thought that there's a way to make it just a little better. I think I finally figured out how to really make them exceptional.
Materials:
Eric Carle's Mr. Seahorse
2 12" X 18" watercolor (or equally thick) paper per student
Florescent paint in pink, red, orange, yellow
Paint in a variety of blues (we used light blue, dark blue, and turquoise)
Foam brushes
Paint brushes
Water containers & water
Pallets
Pencils
Seahorse tracers
Scissors
Glue
Green paper (4" X 6")
Round sequins
Thin line Sharpies (for signing at the end)
We started by reading Eric Carle's Mr. Seahorse, which the kids love. There are clear plastic pages here and there, and the author asks the students to find fish that are "hiding" behind the objects on that page. To avoid lost time and chaos, I tell the kids to let me know they've found the fish by giving me a thumbs up when they see it. I usually have all thumbs up before I finish the first sentence! Next, students went to their seats and used a foam brush to cover a paper with warm colored florescent paint. We talked about texture (how something feels, or looks like it feels), and I showed them how dabbing the brush creates an interesting texture, but wiping it, like a paint brush does not.
Next class, student used a variety of blue paints and covered a second piece of watercolor paper with shades of blue. We used regular paint brushes this time, and a medium size-so they wouldn't be able to get through it too fast.
The third class, we ripped up green pieces of paper and glued them to the bottom of the blue paper from the previous class. I talked about seaweed, and we noticed that seaweed does not have any straight edges. When many students were done with their seaweed, I showed them how to carefully trace a seahorse on the back of their florescent paper. We did it on the back in case of any mistakes. The kids love when I point out no one will know they made a mistake when it's on the back, so just try. I they have lots of trouble, I'll get a colored pencil out and trace it for them, so they can ignore all the pencil lines and just cut on my colored line. Some kids need help cutting the tail-but I'm always impressed with how far they've come with their cutting skills by this time of the year! Just think, when we started the year many of them had never used scissors, and now they're doing complicated shapes like seahorses! They glued their seahorse to their blue & seaweed paper and then brought it and their florescent scraps to me. I paperclipped the scraps to their project and put them on the drying rack.
Finally, the fourth class, I showed them how to use their scraps to add details to their seahorse. We cut a rectangle out of the corner of one scrap, and at least 10 triangles to glue along the seahorse's back. They also cut a circle for the eye, but put the glue on the colored side to make a white eye. I gave them markers to add a mouth, pupil in the eye, and lines on their tail, if they wanted to. Finally, I asked them to glue 5-10 "eggs" on the seahorse's belly. I showed them how to put a dot of glue on the seahorse and drop the sequin onto the glue dot so they wouldn't get their fingers all glue-y, have the sequin stick to their fingers, and get frustrated. Their last step was to use a fine point Sharpie to sign their name and 2011 in the corner of their work of art. I explained that most artists sign their work, and in the art room they are all artists.
As I assess their completed projects, I am looking for following of directions. I count the number of triangles (I told them 10 or more), and sequins (5-10). I check for craftsmanship in cutting, ripping, and gluing, and I look for the thoroughness in painting both with the florescent colors and the blues. I must say, these pictures really don't do them justice, they are amazing! Bright, vibrant, and really well-made. I am so happy with how hard they worked on them, and how well they turned out. They will be stunning at the art show, labeled and mounted! Each class period they came in excitedly asking if they get to work on their seahorses again. I love that. One of my favorite things about teaching is their enthusiasm.


If you'd like to see more of these, check out our Artsonia site!

Thursday, September 30, 2010

Bubble Paintings

This cycle our CID project was Bubble Painting. Most of the kids did really well with it. We did have some sucking on the straw instead of blowing, but that usually didn't happen more than once! To do this, mix water, liquid soap, and food coloring in a bowl. We really like the neon food coloring for extra vibrant colors (found at WalMart). Students blow into the mixture with a straw until the bubbles are overflowing the bowl.

Then they simply lay their paper over the bubbles, popping the bubbles and leaving a print where the bubble popped. Layering the colors makes for a beautiful pastel image.


Evidence of a fun and successful art project!

A few completed masterpieces. To see them all, check Willow River's Artsonia site on the right.
(I uploaded them this morning, so they might not be up until tomorrow.)


Saturday, September 11, 2010

Jackson Pollock

Last year I started feeling like I really wanted to work with our special needs children in small groups. As I was developing these ideas and thoughts, one of the Special Ed teachers approached me and asked if I would be willing to take her class as a small group for specialized art classes. Hum, too much of a coincidence! Must be meant to be! We approached the principal, who was in full support of our ideas. As a result, I get to teach two classes of Autistic children every day 1. Yesterday was hands down the most rewarding day of teaching I can remember. We started by looking at painting by Jackson Pollock and doing marble painting in aluminum pans with primary colors. The kids did great. Even the lower level children were smiling and wiggling the pans.

Once they mastered the marbles in pans we started working bigger. Another teacher donated a hard plastic pool and I brought in some tennis balls to create the same effect on a larger scale. Throughout the course of the art class, students worked on both fine and gross motor skills.


I brought salad tongs for the kids to work their dexterity while taking the balls out of the paint to put in the pool, and spoons to roll the balls in the paint.

The younger kids worked in small groups to tilt the pool and create their masterpieces.


The older kids worked with a teacher and had a bit more control over their creations.

Tuesday, August 17, 2010

Monday, May 3, 2010

Spray Bottle Shape Paintings

Here is another wonderful idea I may use for the painting stations I was considering. I have lots of Foamies, especially the alphabet. It would be a cute way to do a connection to Jasper Johns and literacy.By Jasper Johns

Saturday, May 1, 2010

Spin Painting

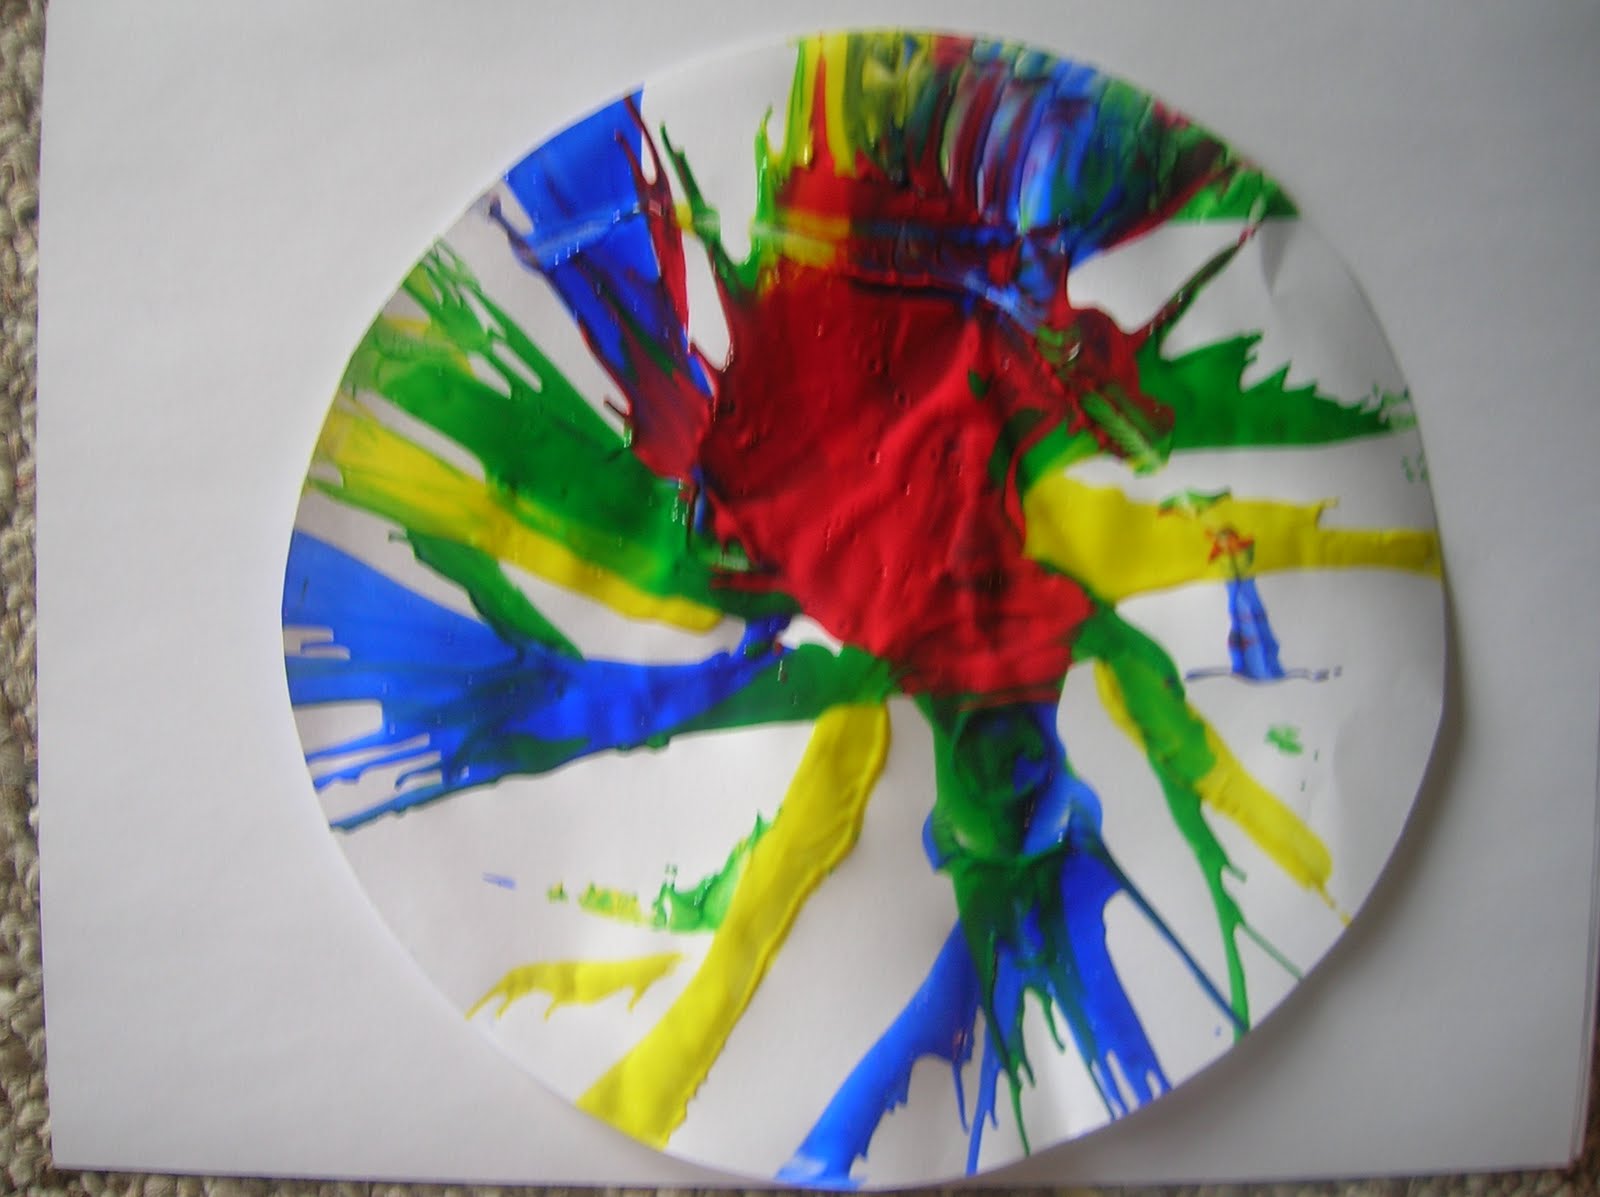
A friend of mine found a magazine article on how to create your own paint spinner using a salad spinner. I am thinking about using five different non-traditional painting techniques and having stations at each of my art tables. I'd use two art classes and rotate the children through all the stations so that at the end of the two sessions they would have five unique paintings. I think I'd then have them create some type of collage work of art using all five. Obviously, I haven't worked out all of the kinks, but this is one of the techniques I may use in addition to paint scrappers, marble painting, watercolor wands, and rollers. Here's how to do the spin painting:

I started by tracing the bottom of the inner part of the salad spinner onto paper. The article actually suggests creating a cardboard bottom and using a pushpin to secure the paper to the spinner but I though that with repeated use the hole would get too big and it wouldn't work. I used computer paper and Scotch tape to tape it in the center. When I cut the circles out, I cut a little bit inside of my traced line to make then slightly smaller than the spinner.


Add paint to the center of the circle.


Close up the spinner and spin as much as you want.


Spinning

This was my first attempt. I didn't attach the paper to the spinner, and while it was spinning it folded up. It still turned out ok, but the next one was attached and turned out better. I think with heavier paper-perhaps tagboard or watercolor paper-this technique could be beautiful.

First attempt


Second attempt